Saturday, May 3, 2008

GEEKZONE: Masking Layers by the Steps

Step 1. Prepare the tools
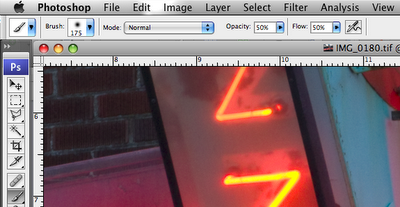
Brush Settings:
Mode- Normal, Opacity- 50%, Flow- 50%
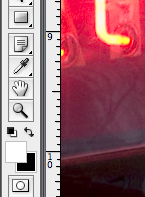
Foreground/Background color: white/black (default) .
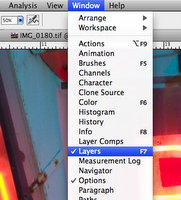
Layers Palette: visible. (Window>Layers checked)

Step 2. Create Layer, and Mask.
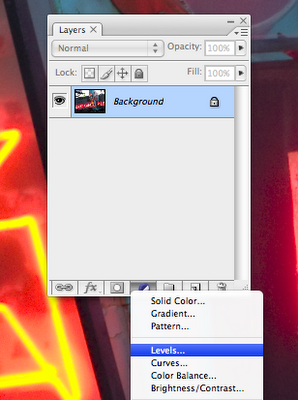
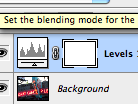
Select black/white circle (“Create new fill or adjustment layer”). Make adjustment… for example, make the image darker.
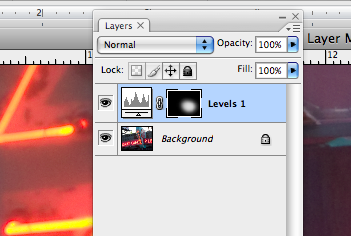
Select Mask (white rectangle next to Adjustment icon.) Turn black with keyboard shortcut Command I.

Step 3. Make Mask selection.
With the (now black) mask selected, use the Brush tool to “paint” white on the black mask, in areas that you want to become visible, or active. This shows a small area of our adjustment that will “show through”. If the adjustment makes the image darker, this is the only area that will be darker… etc.

Tips and Tricks.
“{“ and “}” makes your Brush a smaller and larger diameter.
Command x switches the foreground/background colors.
“Painting” black over a white area of the mask “covers” the edit, allowing you to fix and change your selection.
The “Opacity” button on the Layers palette (different from the “Opacity setting for the Brush Tool) allows you to decrease the overall effect of the Adjustment Layer.




Labels: , , ,

Saturday, March 29, 2008

HDR processing: down the rabbit hole...

HDR is "high dynamic range", and is a processing method to combine several exposures, of different exposure ranges, to create one file with a gi-normous dynamic range.

The first place I saw this was with Leaf software, very early on... you could take the RAW files in Leaf Capture, and merge them to one HDR file. This was particularly useful when shooting computer or video displays, or shooting interiors with windows.

The problems has been, and continues to be, (as far as I have seen), the lack of control in selecting what highlights, and where, are included, and the lack of a re-editing strategy, that is, you can't go back and change anything after you've made the HDR. Imacon, a little later on, allowed you to select several exposures and process them to one file, in layers to work with in Photoshop... a much more practical approach from where I sit. Using masks and layers I could select what and how much of an area or value I wanted to include in a shot.

Then came the Smart Objects. No surprise there, huh? If I take several exposures and build them into my layers and mask them, I have all the dynamic range I can stand, plus, the so-called "non-destructive editing" workflow. Where all the HDR processors I have seen make one huge file, in ultra-high bit depth, that you can use as a source for all your edits, the Smart Object workflow lets me use the same workflow I'm using for everything else... Smart Objects, Layers, Masks, and build in every bit of detail I want, in just the way I want to...

Later on I'm going to show what I mean... look for an HDR to Smart Object workflow comparison coming soon.

Labels: , , , ,