HDR is "high dynamic range", and is a processing method to combine several exposures, of different exposure ranges, to create one file with a gi-normous dynamic range.
The first place I saw this was with Leaf software, very early on... you could take the RAW files in Leaf Capture, and merge them to one HDR file. This was particularly useful when shooting computer or video displays, or shooting interiors with windows.
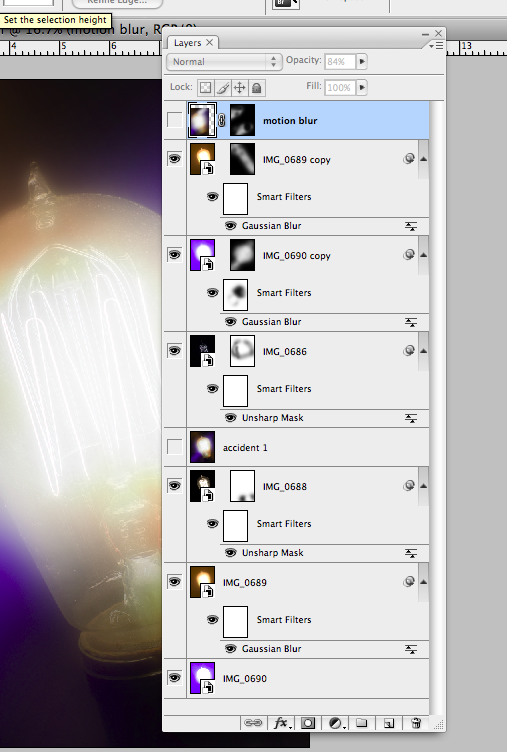
The problems has been, and continues to be, (as far as I have seen), the lack of control in selecting what highlights, and where, are included, and the lack of a re-editing strategy, that is, you can't go back and change anything after you've made the HDR. Imacon, a little later on, allowed you to select several exposures and process them to one file, in layers to work with in Photoshop... a much more practical approach from where I sit. Using masks and layers I could select what and how much of an area or value I wanted to include in a shot.
Then came the Smart Objects. No surprise there, huh? If I take several exposures and build them into my layers and mask them, I have all the dynamic range I can stand, plus, the so-called "non-destructive editing" workflow. Where all the HDR processors I have seen make one huge file, in ultra-high bit depth, that you can use as a source for all your edits, the Smart Object workflow lets me use the same workflow I'm using for everything else... Smart Objects, Layers, Masks, and build in every bit of detail I want, in just the way I want to...
Later on I'm going to show what I mean... look for an HDR to Smart Object workflow comparison coming soon.
Labels: HDR, Layers, Masking, PhotoShop, Smart Objects