Saturday, October 18, 2008

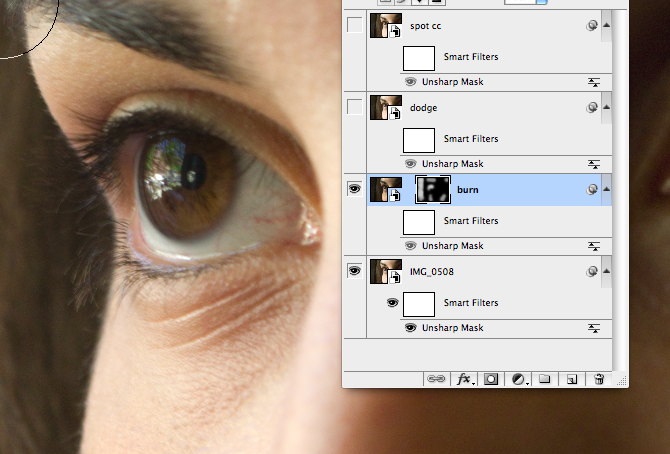
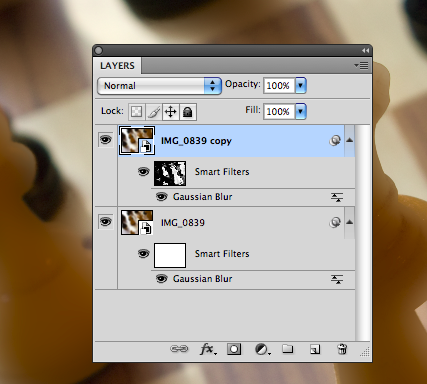
Smart Filter Masks- (from Smart Object Pipeline)

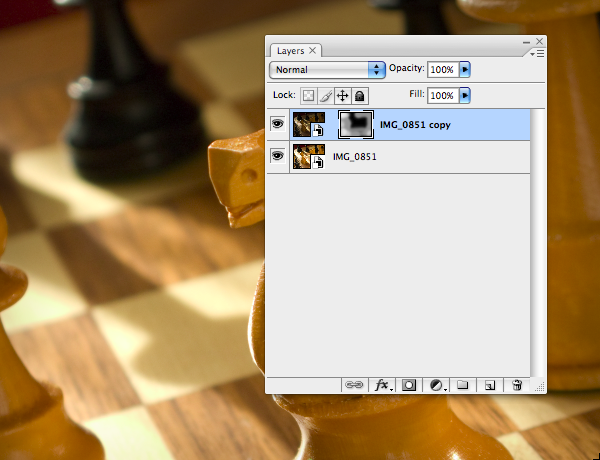
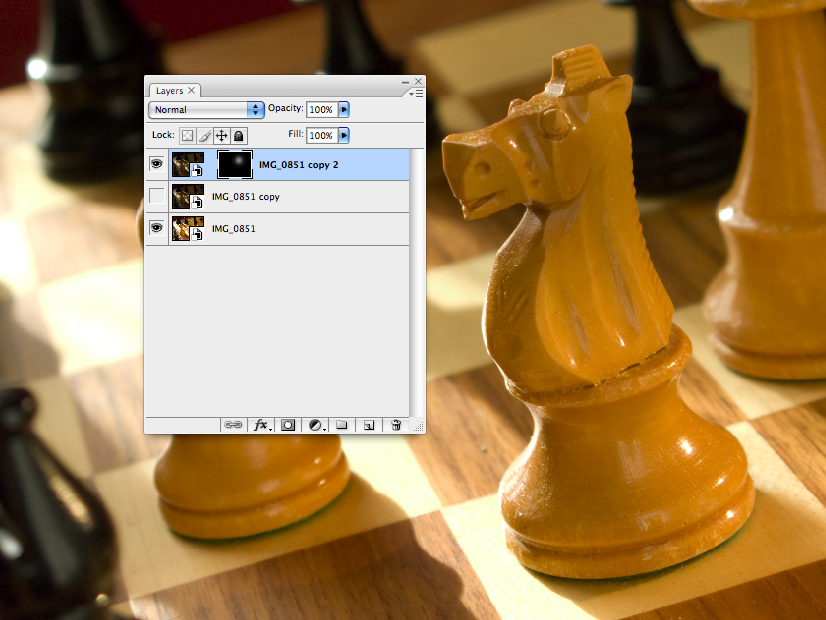
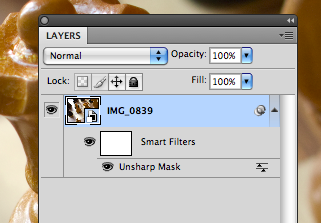
When you make a Smart Filter on your Smart Object layer, you get a mask generated automatically. The white rectangle labeled “Smart Filters”, between the Smart Object on top, and the filter on the bottom, is your mask. This is separate from the filter, and will, for the most part, behave like a regular layer mask that we know and love with a few notable exceptions.

The first little surprise is that you can only use one mask for each Smart Object Filter set. I can add more filters, but they’re just going to sit under that top mask.

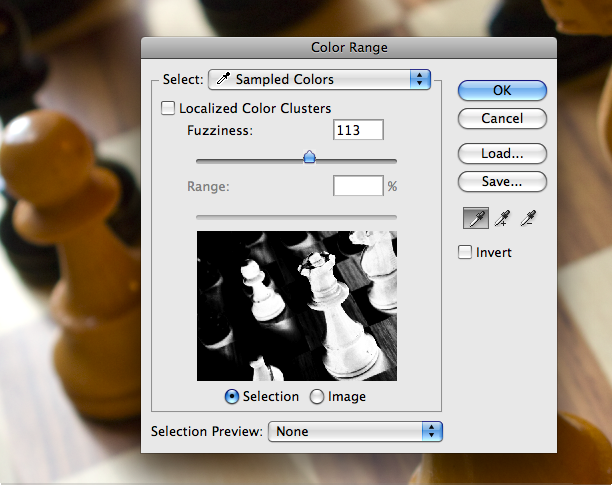
I can control the masked areas of the filter just like I do with a regular mask, either by painting on it as I usually do, or even by making a selection and making a mask. The trick there is you have to start by making the selection before you make the Filter. Here, I’ve made a selection from Select>Color Range.

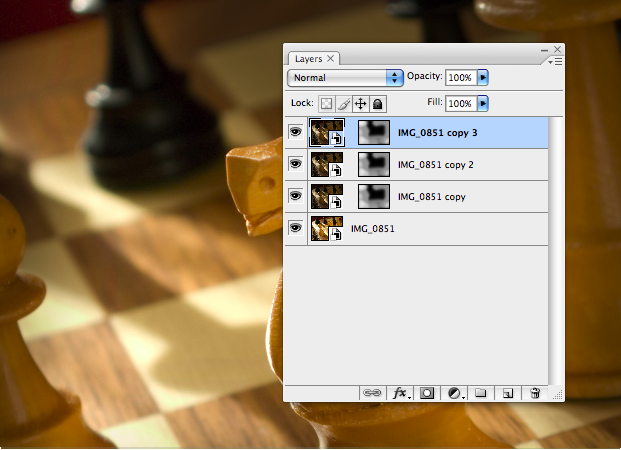
Next I make a Smart Filter for Gaussian Blur.

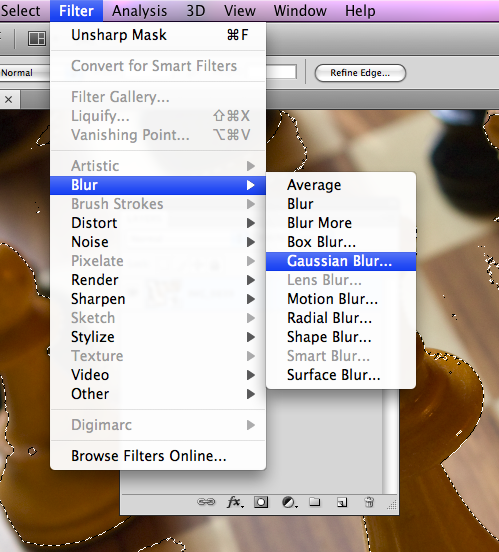
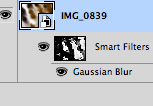
Here is my happy mask.

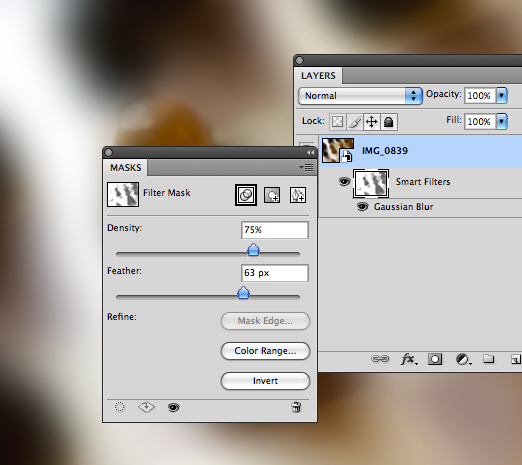
I can make the usual moves here, including Command I to invert the mask, as well as accessing the CS4 Mask Panel to do some nice, controlled refinements of my mask.


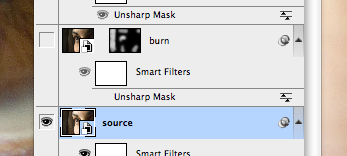
Finally, you can move and copy Smart Filter masks from layer to layer, just as you can with regular masks, by simply dragging them to the layer you want to move them to, or Option-dragging them to make a copy rather than a move, with one little restriction: you can only copy a Filter Mask to another Filter, and a Layer Mask to another Layer. The “Filter Effects Mask” and the “Layer Mask” are two different animals, and can’t be interchanged.

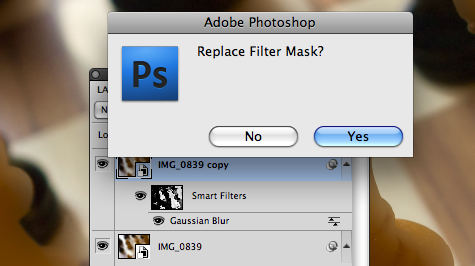
This does give you an interesting little workaround, though, if you’ve made a Smart Filter and decided afterwards you want to mask it using a selection. Just make a new Smart Object layer and make your selection and make any filter at all.

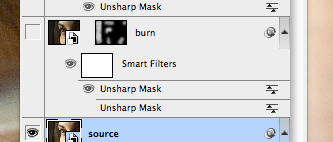
Then just move your mask to your first Smart Filter. You’ll get this warning.
It moves that nice mask to your first filter,

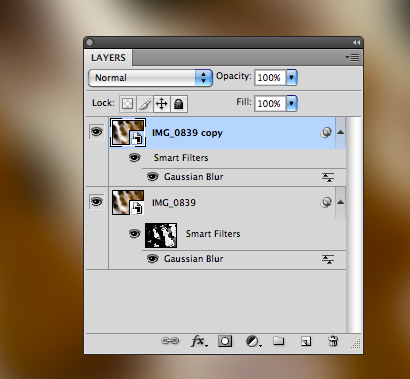
and then you can just trash that second “working” Smart Object Layer you made.
Bingo, game over!

Labels: , ,

Saturday, October 4, 2008

GEEKZONE: The Rosenholtz-Sanchez Effect Explained

(...a little tease from Smart Object Pipeline)

We’ve been talking about this effect, what is it, really?

There are a couple of ways that Smart Object Layers seem to compound an adjustment. Basically, this applies to copying a layer that you’ve applied an adjustment with a mask to.

If I start with a layer, then make another Smart Object on top of it, I’ll get a solid, self-contained layer that has edits that only apply to itself.


In this case I’ve adjusted it darker, to burn down the perimeter. Now, I make a mask, and “burn” down the areas I want. If I now copy that layer, it will appear to compound the adjustment, making it darker still. If I keep copying the latest, top layer, it just keeps getting darker and darker. Here’s what three iterations of that looks like:


It’s simple really. Each “Smart Object via Copy” move uses the source layer as it’s starting point, and applies that to the overall image. The moral of this story? Be really careful of which Smart Object you’re copying, and how it’s propagating adjustments. To be safe, I usually copy only from the first, or Background layer.

Something is fishy here, though. If you make a straight, unmasked darker Smart Object layer and make several copies on it, you’ll notice it doesn’t get any darker. If the edits get compounded, then why isn’t this compounding here? Go ahead, try it.


Here’s a basic “dark” move, copied a bunch of times. The result is no darker than the first edit.

Here’s the thing. The “Smart Object via Copy” move compounds the mask, not the edit. Here’s a basic image, and a very dark adjustment on top.


Now I’m going to hold that back (by turning it off for the moment) and make a copy with a mask, using my standard 50% flow and 50% opacity settings, and I’m just going to hit it lightly. Here’s what it looks like.


(I named it “unmasked adjustment” to keep it straight.) OK, I just hammered out a bunch of copies of the masked layer until it didn’t get any darker. After 19 layers, I have the same tonal value as the unmasked layer. (Here’s the 19th layer,


and here’s the dark layer moved to the top.)


Each “Smart Object Layer via Copy” move compounds the mask, moving it to more and more transparent… it basically is like painting on it with the 50%/50% brush over and over, 19 times in fact, until it shows 100% of the Smart Object it’s masking.

Want to see something funny? Here


is what my 19 copies looks like. Here


is what it looks like when I hit my mask 19 times with the same 50%/50% brush setting. The spread of the mask is a little different, but the density of the edit is the same.

It feels, when you’re working with Smart Objects and Smart Filters in a masking workflow, like there is some magical mechanism going on and the edits, filters and adjustments you’re making can get out of control.

Keep this in mind. It’s not magic, it’s the mask.

Labels: , , ,

Sunday, June 29, 2008

Copying Smart Filter Layers

We’ve seen a few examples where we need to make a filter on another layer, pretty much the same as one we’ve already made. The good news is we can just copy existing Smart Filters in much the same way we copy other things in Layers. But, like in other little features of Smart Objects, there are a few new twists you have to watch out for. Here’s an example.

I’m going to open a file, and run through my usual procedure of building my working Smart Object layers.


Let’s keep it simple. I’m going to “burn” down the iris, and the eyelashes a bit here, so I’ve gone in and made the adjustment and masked it for just those parts.

Now I want to get it ready to print, so I size it and do my Unsharp Masking adjustments remembering to turn the images above the “source” image off.


Next, I have my problem. There are some areas of the Smart Filter I made that are going to get covered up by the “burn” layer above it. The "burn" layer isn't going to get sharpened by the layer below it, so I need to make another Unsharp Masking layer, probably just like the one I just did, to plug into that "burn" layer. Here’s how I can do it. This is what I’m starting with- a “burn” layer with the Unsharp Mask Smart Filter turned off (the “eye” on the Unsharp Mask is clicked, to de-activate it, thus not showing the “eye” anymore.)


Go back to the “source” layer and click on the Unsharp Mask Smart Filter. Hold down “Option”, click that baby and drag it to the “burn” layer, and drop it right on he (de-activated) Smart Filter. Snap! You’ve added a copied Smart Filter layer, exactly the same, from your “source” layer.


Note that there are two “Unsharp Mask” layers, and one is de-activated (no “eye”). You can actually go ahead and delete that to keep things neat if you want.

One important, really small detail. Make sure, when you start, the thing you’ve turned off (in your target layer) is the filter itself, NOT the thing that says “Smart Filters”. Look again at the figure. The “eye” is there, next to the “Smart Filters”, but not next to the Unsharp Mask. This will help keep things straight, because it adds a new filter that has the eye, and shows the old one that is turned off. (If you turn off the “eye” next to the Smart Filters thing, then it will add the filter, but activate ALL the layers. Just a bit confusing.)

The only thing left to do is to go back and check your sharpening levels. Remember the Rosenholtz-Sanchez effect! You’ve applied the same filter twice, on two layers, so the effect will be compounded. You can quickly check it simply by toggling the new filter on and off, and see if it’s objectionable, or, you can go in and re-open that filter and give it a poke. (If it’s a problem, Rosenholtz and I have pretty much decided it’s Sanchez’s fault. But that’s another story.)

Labels: , , ,