Setting up Camera RAW for Smart Objects
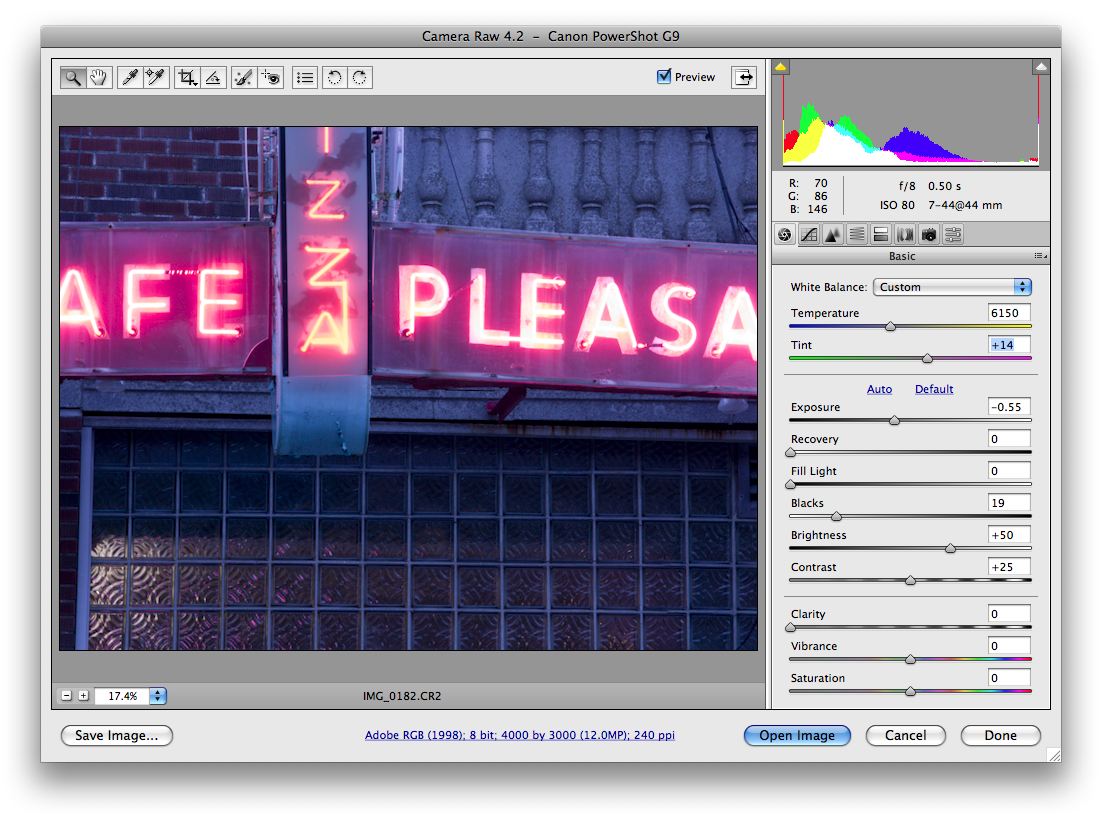
We need to get to Adobe Camera RAW to set that up to open files as Smart Objects rather than standard rasterized images. To do this, just get to a RAW file and open it (preferably using Bridge). Here’s the familiar Camera RAW window. At the very bottom in the middle is what looks like a link on a website. Here’s what mine looks like:
Click it. This brings you to the Camera RAW “Workflow Options”.
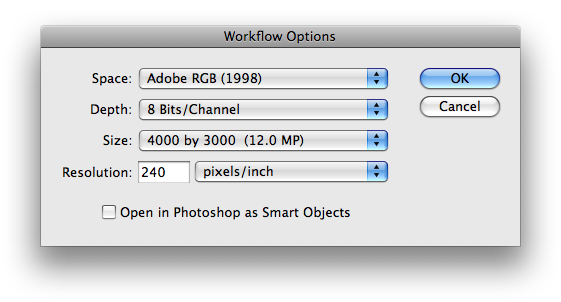
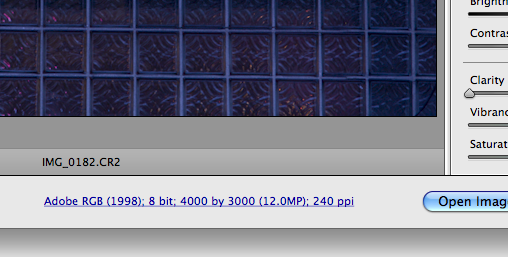
Here you can specify some of the key processing preferences, specifically, the Working Color Space you’re asking Camera RAW to process to, the bit depth, pixel dimensions and resolution of your processed files. There’s also a little checkbox: “Open in Photoshop as Smart Objects”. We want to check that little guy.
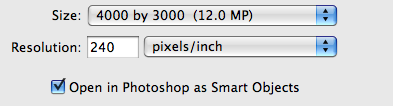
You’ll notice, after you hit OK, that the “Open …” button now has changed from “Open Image” to “Open Object”. After you make your basic adjustments in the Camera RAW menus, hit this button and you’ll kick into Photoshop.
Here’s your happy workspace, with your image (now temporarily named “'filename' as Smart Object”) and your Layers Palette that you’ve set up, and the background layer with this funny little icon on the layer. THAT, my friend, is your Smart Object.
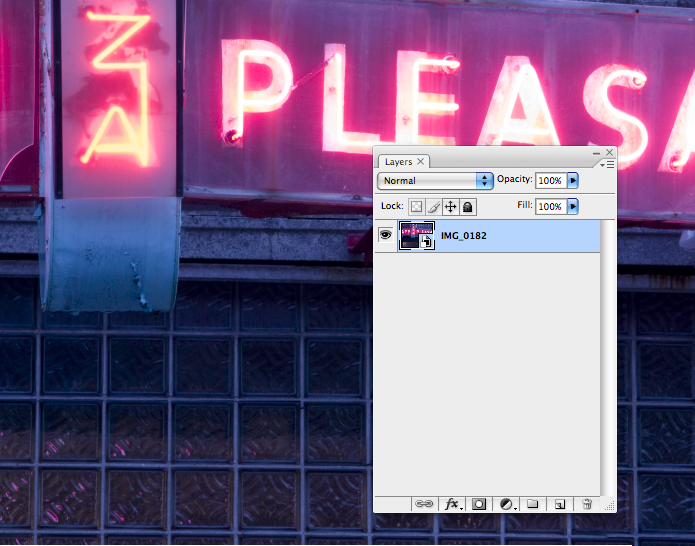
Now, whenever you open a RAW file it will go into Photoshop as a Smart Object Layer. The enormous power of this is revealed when you go and double-click that funny little icon. Go ahead. Try it. You know you want to. Bingo! What happens is you get right back to that Adobe Camera RAW window. All we really have done is set it up so we can go and edit the RAW file, and re-edit it, without having to get back out of Photoshop and start again with the original file. We now have a RAW file embedded into our Photoshop file as a layer.
Seems simple enough, this is the “nut” of the process, but, as the saying goes, “Mighty Oaks from Little Acorns Grow”.
Lets see what this lets us do. More to come...
Labels: ACR, Adobe, Camera RAW, Smart Objects
posted by Ted Dillard at
5:21 AM
0 Comments
Links to this post
![]()
![]()